

A cold draft beside a closed door is easy to notice in November and easy to forget by spring. Weatherstripping can be a small, useful weekend job when the door or window is sound but its moving edges no longer seal well. It is less useful when a frame is warped, water is entering, or the apparent “draft” is actually a cold glass surface creating air movement inside the room.

The job starts with diagnosis. Seal the right gap with a material that lets the door or window continue to operate normally. A strip that makes the latch difficult or traps moisture has not improved the home, even if it stops one gust.
Find the leak before buying a roll
On a cool or windy day, feel around the perimeter of a closed door or window. Compare edges and corners. Look for visible daylight and inspect existing seals for compression, tears, missing sections, or paint buildup.
The U.S. Department of Energy's home energy assessment guide describes simple checks such as looking for gaps with a flashlight and closing a door or window on a piece of paper. A loose paper test can suggest weak contact, though it is not a precise measurement of energy loss.
Check adjacent areas too: trim, outlet boxes, baseboards, and an attic hatch can leak air. Weatherstripping belongs on moving joints; fixed gaps may need a different repair. If water staining, rot, mold, or damaged glazing is present, address the underlying problem before sealing the edge.
Distinguish moving and fixed gaps
Weatherstripping is designed for places where two surfaces meet and one moves, such as a door jamb, window sash, or threshold. Caulk is generally used for appropriate stationary joints. Filling a moving joint with ordinary caulk may prevent normal operation and create a difficult repair later.
Do not block intentional vents, weep holes, drainage paths, or required ventilation openings. The U.S. EPA cautions that weatherization without appropriate indoor air quality protections can have negative consequences. A home with combustion appliances, persistent moisture, or poor ventilation may need professional assessment before broad air sealing.
This article covers small door and window seals, not a whole-house air-tightening project. Treat each opening as part of a larger building system.
Measure the gap under normal closure
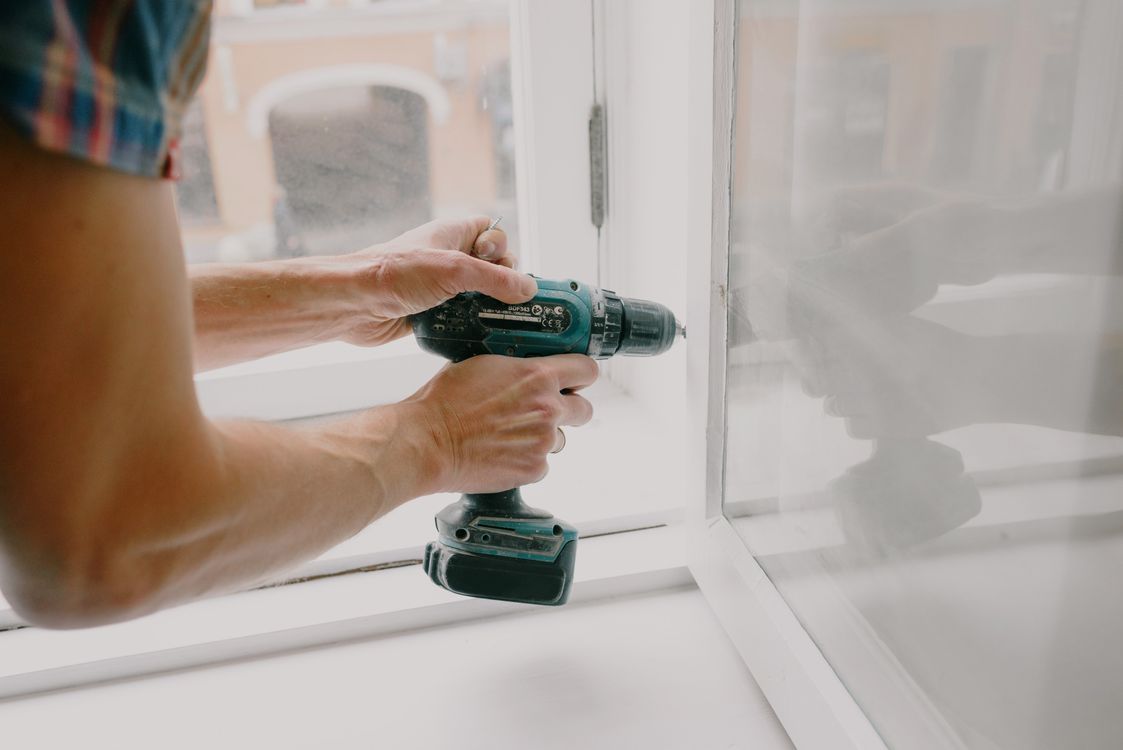
Open and close the door several times. Does it latch freely? Does it rub at one corner? Is the gap consistent? A misaligned hinge or swollen frame can make one edge appear to need an unusually thick strip. Correct mechanical problems first rather than forcing a seal into them.
Measure the length of each contact surface and buy enough material for continuous runs, allowing for corners and mistakes. For a compression seal, note the gap when the door is closed, not just the open-space dimension. The strip must compress enough to seal but not so much that the latch or sash is strained.
Photograph the existing profile before removing it. Some doors and windows use proprietary kerf-in or slide-in seals that fit a channel. Matching that profile may be better than applying generic adhesive foam over it.
Choose material by the movement
Adhesive-backed foam is inexpensive and easy to cut. It can work on a relatively even gap, but it may flatten or detach over time, particularly on dirty or damp surfaces. A thicker foam is not automatically better.
Rubber or silicone compression seals often provide a more durable contact when installed in an appropriate profile or carrier. V-strip or tension seals can suit certain window sashes and door edges. Felt is easy to use but is not the best choice for wet, high-wear locations.
At a door bottom, a sweep or threshold seal addresses a different gap from the jamb. Check floor clearance across the full swing, including rugs and uneven spots. A sweep that drags heavily can damage a floor or make a door difficult to close.
Prepare the surface properly
Remove a failed seal without gouging the frame. Clean off adhesive residue using a method safe for the paint or finish, then let the surface dry completely. Adhesive seals often fail because they were applied over dust, grease, dampness, or flaking paint.
Read the product's minimum application temperature and cure instructions. Cold weather may be the moment you notice the problem, but some adhesives bond poorly to a cold frame. A mechanical or channel-fit seal may be more appropriate if conditions cannot be controlled.
Inspect the frame as you work. Soft wood, loose trim, and cracked caulk near the opening are separate repair issues. Covering them with a strip can hide deterioration without stopping water intrusion.
Install in manageable lengths
Dry-fit each run before removing an adhesive backing. Cut square or mitered corners according to the product's instructions. Start at an easy reference point and press steadily without stretching the material. Stretching can cause the strip to shrink away from corners later.
For kerf-in seals, seat the flange fully in the correct channel. For screw-mounted strips, use the maker's fastener spacing and avoid drilling where wiring or other hidden services may be present. If the door frame construction is uncertain, get appropriate help.
Do not layer new weatherstripping on top of a failing old strip unless the manufacturer specifically allows it. Multiple layers can produce uneven contact and excessive closing force.
Test the complete door or window
Close the opening gently. It should latch or lock without unusual force. Check every corner with the paper test and compare the amount of resistance. A compression strip may need minor adjustment after the first day, but it should not require slamming the door.
Open and close the window through its full travel. A seal must not interfere with emergency egress, locks, or security hardware. Check that a window screen and drainage path remain in place as designed.
Revisit the opening after rain and during the next temperature change. Look for condensation or dampness near the new seal. If moisture appears where it did not before, investigate rather than simply adding another barrier.
Do not confuse comfort with a guaranteed saving
Stopping a noticeable draft can make a room more comfortable. The energy effect depends on the size of the original leak, weather, heating system, and the rest of the building. A small strip cannot compensate for an uninsulated roof or a window that needs repair.
Avoid confident claims that one package of weatherstripping will cut bills by a particular percentage. A professional energy assessment can identify larger leakage paths and prioritize work when costs are substantial.
Good curtains or blinds may reduce discomfort near a cold window, but they do not replace a seal at a genuine moving-joint gap. Diagnose each problem separately.
A renter's version
Ask about lease restrictions before changing permanent seals or drilling. Some removable products can still lift paint or leave adhesive residue. Test in an inconspicuous area and keep the original parts if removal is permitted.
A removable draft stopper can help at a door bottom, but it should not block the door or become a trip hazard. Report damaged doors, windows, and water intrusion to the landlord rather than assuming a temporary strip is an adequate repair.
Do not defeat a required ventilation opening or alter a shared building system without permission and an understanding of its function.
Maintain the seals
Inspect weatherstripping during seasonal cleaning. Dirt at a contact edge can prevent a good seal; a torn corner can catch and pull away. Clean with the method specified for the material and replace a strip that no longer compresses or holds in its channel.
Check hinges and latches as well. A door that sags can defeat even a well-installed seal. In a window, paint buildup or damaged hardware may prevent full closure. Fixing the movement can be more important than changing the strip.
Keep a note of the seal profile and product name. Matching replacement material later is easier when the first package is not long gone.
Finish with a real-world check
The success test is a door or window that closes easily, locks normally, drains as intended, and feels less drafty on a comparable day. If the latch is stiff or condensation accumulates, the job is not finished. Adjust or remove the material and investigate the cause.
Weatherstripping is a useful small project precisely because it is targeted. Identify the moving gap, match the seal to the movement, install it on a sound clean surface, and verify operation. The goal is a more comfortable opening, not the thickest possible barrier.
Sources and further reading
- U.S. Department of Energy, home energy assessment and air-leak checks: https://www.energy.gov/sites/default/files/2021-08/ES-Home%20Energy%20Assessments_080221.pdf
- U.S. Department of Energy, exterior-door weatherstripping installation job aid: https://www.energy.gov/sites/default/files/2024-07/11-1_install-weatherstripping-on-exterior-door.pdf
- U.S. Department of Energy, distinction between caulking stationary gaps and weatherstripping moving joints: https://www.energy.gov/indianenergy/articles/energy-saving-hacks-beat-summer-heat
- U.S. Environmental Protection Agency, weatherization and indoor air quality: https://www.epa.gov/indoor-air-quality-iaq/energy-weatherization-and-indoor-air-quality