

An older table or cabinet can look tired without being ruined. A sticky drawer, dull surface, loose handle, and years of dust may convince an owner that the only solution is to strip everything back to bare wood. That is often more work than the piece needs—and it can erase a finish that gives the furniture much of its character.
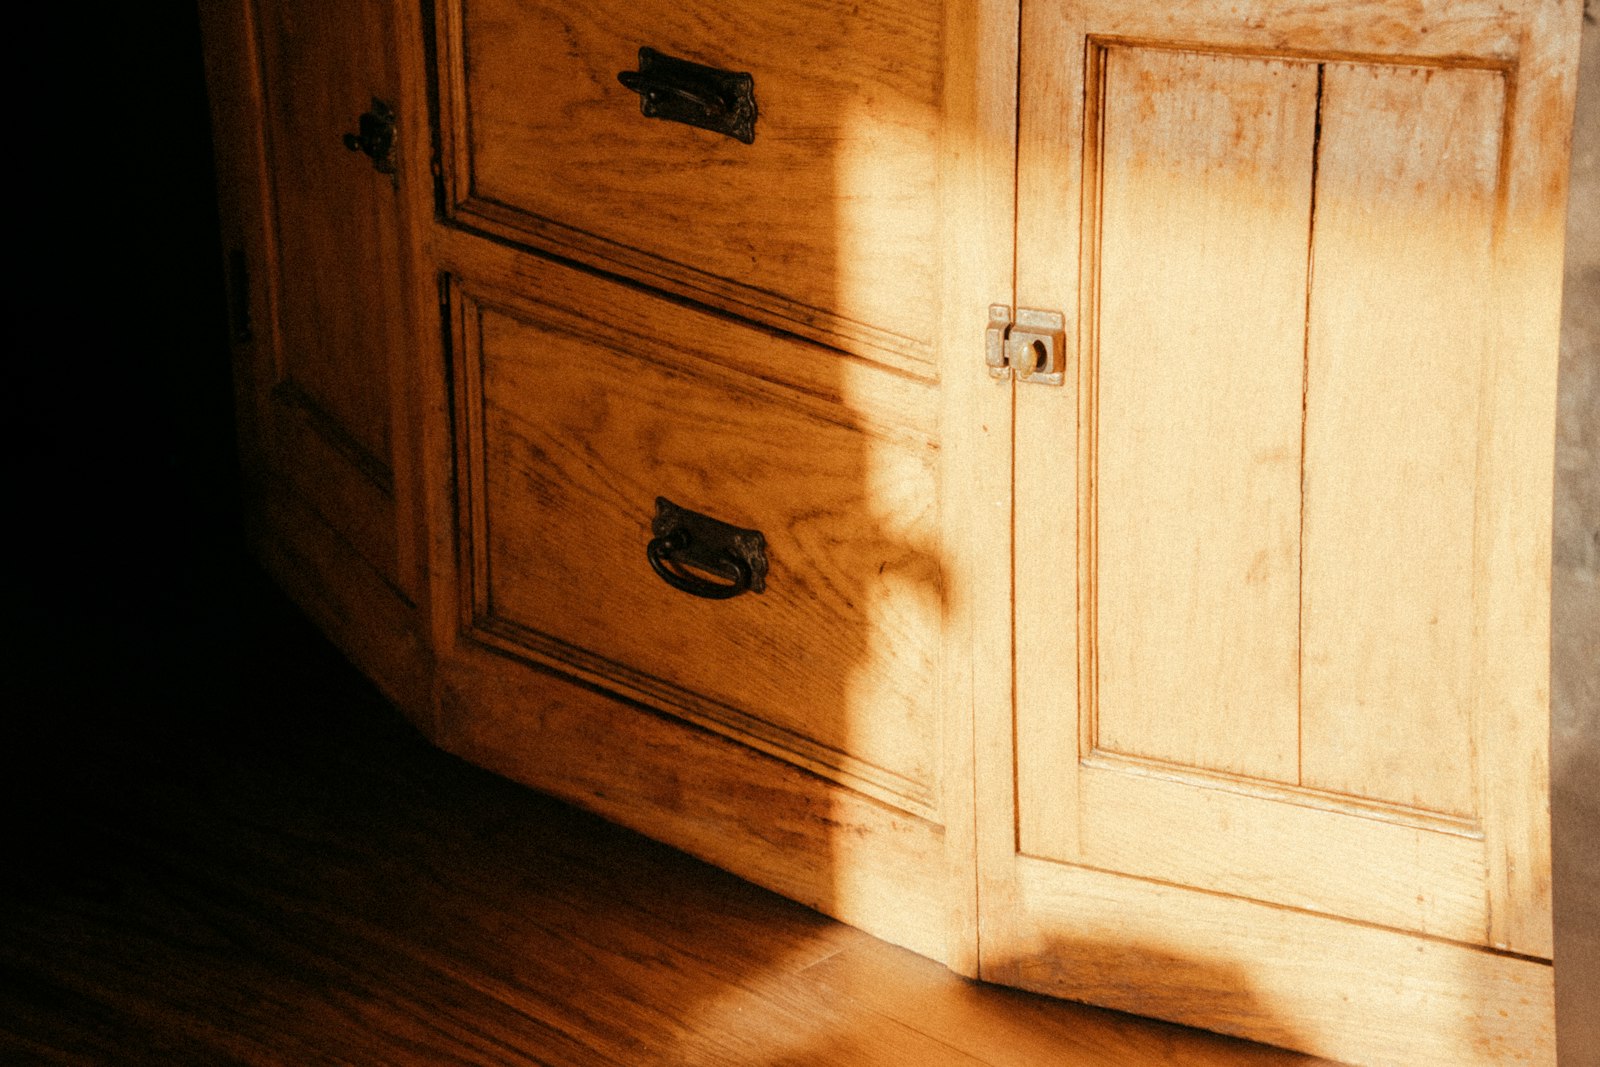
Begin with the least invasive change. Clean, assess, tighten, and protect before deciding whether a new finish is necessary. A repair that leaves the piece useful and recognizably itself is usually a better weekend project than an ambitious refinish started without knowing how it was built.
Identify what you actually have
Examine the back, underside, drawer sides, and edges. Solid wood, veneer over a stable core, laminate, and painted surfaces respond differently to moisture, sanding, and repair. A thin veneer can be beautiful and durable, but sanding through it is permanent. Do not mistake veneer for an inferior construction simply because it is not solid throughout.
Look for maker's marks and original hardware. A piece with historical or collectible value may warrant professional conservation instead of a casual makeover. Photograph the furniture before taking it apart, including the underside and every fitting. Those photographs help with reassembly and show what changed.
Determine whether the problem is cosmetic or structural. A scratch is different from a separating joint, rotten wood, lifting veneer, or evidence of insects. A structurally unstable chair or table should not be used until repaired appropriately.
Check the age before disturbing paint
Older painted furniture may contain lead. In the United States, the EPA warns that renovation and sanding of pre-1978 painted surfaces can create hazardous lead dust. If the age or paint history is uncertain, avoid dry sanding, scraping, or heat-gun removal until the risk is assessed and an appropriate safe method is chosen.
This is especially important around children and pregnant people. A simple decorative project is not worth spreading dust through a home. Follow applicable local rules and consider a qualified professional for suspect finishes.
Unpainted pieces also deserve caution. Old coatings and solvents can produce irritating dust or fumes. Work with ventilation, appropriate protection, and the product manufacturer's directions. Never mix cleaning chemicals.
Start with a gentle clean
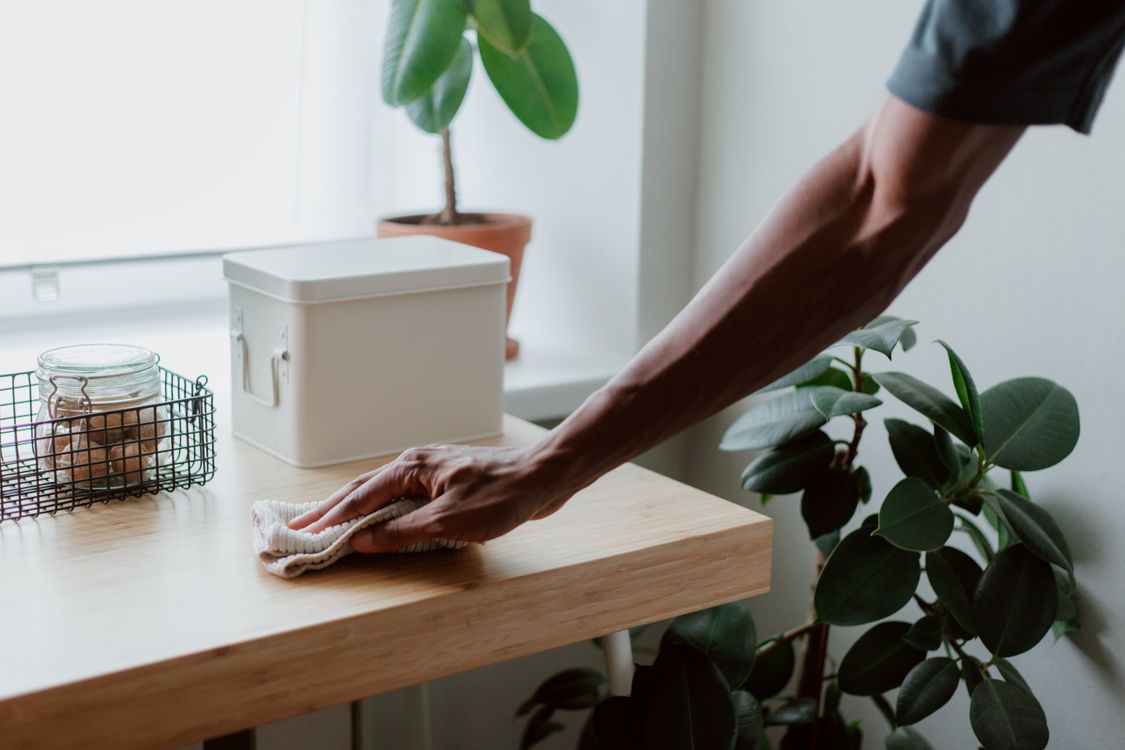
Remove loose dust with a soft cloth or brush. Vacuum crevices using a brush attachment without dragging hard plastic across the finish. Test any cleaner in a hidden area first. The goal is to remove soil, not the finish itself.
For many sealed wood surfaces, a barely damp cloth followed immediately by a dry cloth is a reasonable first step, but follow any known maker or conservation instructions. Do not saturate joints or veneer edges. Water can lift loose veneer, raise grain, and leave marks in damaged finishes.
Avoid abrasive pads and strong all-purpose cleaners. Furniture polishes with silicone or heavy wax buildup can complicate future repairs. If the surface is sticky, determine whether it is cooking grease, old polish, or a deteriorating coating before applying another product.
Repair the function first
Take drawers out and inspect runners. Remove grit and check for loose screws or a misaligned stop. A swollen wood drawer may need humidity control and careful adjustment rather than force. Do not shave away material until you understand why it binds; seasonal movement may change the fit.
Tighten handles gently. If a screw no longer holds, use a repair appropriate to the hole and construction rather than an oversized fastener that splits the wood. Keep original hardware together in a labeled bag if replacing it temporarily.
For a wobbly chair or table, identify the moving joint. Tightening visible bolts can help, but glue applied to the outside of a loose joint rarely creates a sound repair. A loaded chair that racks needs proper disassembly or professional attention before use.
Decide which marks belong
Patina is not simply damage with a flattering name. It is the accumulated wear that makes a finish read as aged and coherent. A shallow scratch, softened edge, or variation in color may look appropriate. A white water ring, sticky spill, or sharp splinter may deserve attention.
Stand back and view the piece in its actual room. Small marks that dominate a close-up photograph may be invisible in use. If the furniture has survived decades, a perfectly uniform new color may make it look less convincing, not more.
Prioritize damage that catches clothing, traps moisture, or weakens the structure. Leave purely visual irregularities until the piece has been cleaned and lived with for a few weeks.
Test any spot repair discreetly
Repair markers, wax fill sticks, touch-up pigments, and shellac or lacquer products are not interchangeable. A product may match color when wet and dry much darker. It may also have a sheen unlike the surrounding finish.
Test on an inconspicuous area and let it cure fully. Work in small increments, blending only the damaged area. Do not sand a broad halo around a tiny scratch. Deep dents and missing veneer often need a more considered repair than a marker can provide.
For a water mark, first identify whether it is within the finish or the wood beneath. Internet tricks involving heat, oils, toothpaste, or abrasives can worsen a delicate coating. If the piece matters, seek advice from a conservator or an experienced furniture finisher rather than experimenting on the visible top.
Be cautious with wax and oil
Wax can add a gentle sheen and some protection to a suitable existing finish, but it does not rebuild a failed coating. Different waxes and oils interact with finishes in different ways. Apply only when the product is recommended for that surface, and test first.
Excess oil can remain tacky and attract dust. Some products marketed as “restorers” contain stain or solvents that change the original color. Read the entire label, including ventilation, cure time, and disposal instructions.
Oil-soaked rags can self-heat and ignite if discarded in a pile. Follow the product's fire-safety and disposal directions exactly; do not leave used rags crumpled in a trash can or garage.
Know when refinishing is justified
A full refinish makes sense when a coating is widely failing, the surface cannot be made usable through local repair, or the piece is not historically significant and a different finish better suits its long-term use. It is a larger undertaking than a cleaning project.
Before starting, identify the existing coating and substrate. Veneer thickness may be limited. Chemical strippers, sanding, and new coatings require protection for the worker and surrounding area, suitable ventilation, and appropriate waste handling. Test the complete process on an inconspicuous section.
Consider the economics. A professional finish may cost more than a low-priced secondhand purchase, yet preserve a piece with excellent construction. Conversely, extensive work on a fragile mass-market panel can have little payoff. Decide based on the piece and your attachment to it, not only resale value.
Protect the refreshed piece
Place furniture away from persistent leaks, excessive heat, and direct sunlight where possible. Use coasters, trivets, and pads that suit the surface. Rotate objects on a tabletop so one area does not age differently from the rest.
Maintain reasonable indoor humidity, especially for solid wood. Rapid swings can stress joints and panels. Dust with a soft cloth and follow the finish maker's cleaning directions rather than adding new polish every week.
Put suitable glides beneath legs and keep them clean. Grit embedded in a felt pad can scratch floors. Recheck hardware after the piece returns to regular use.
A sensible weekend sequence
On the first day, photograph, inspect, test the cleaning method, and clean. Let the piece dry completely. Repair accessible hardware and drawer issues. On the second day, reassess in daylight, choose at most one small cosmetic repair, test it, and wait for its stated cure time before loading the surface.
This slower pace prevents a common mistake: treating every imperfection in one session and losing the original finish in the process. If the furniture is still unsafe or the finish chemistry is uncertain, stop at the assessment stage and seek specialist help.
Preserve what makes it worth keeping
Refreshing furniture is not a contest to make old wood look new. It is an opportunity to separate dirt and avoidable damage from age and character. A clean, stable, useful piece with honest marks can be more appealing than a stripped and uniformly stained version of itself. Start gently, document each step, and let the furniture tell you how much intervention it actually needs.
Sources and further reading
- U.S. Environmental Protection Agency, lead-safe renovation guidance: https://www.epa.gov/lead/renovation-repair-and-painting-program
- Smithsonian Museum Conservation Institute, summary of furniture preservation and care: https://mci.si.edu/node/1241422